Finding and Inspecting a Used Car Hood
Replacing a damaged hood doesn’t have to break the bank. Used car hoods offer significant savings while maintaining the quality and functionality you need. The key to success lies in knowing where to look and how to properly evaluate potential candidates.
Where to Source Quality Used Car Hoods
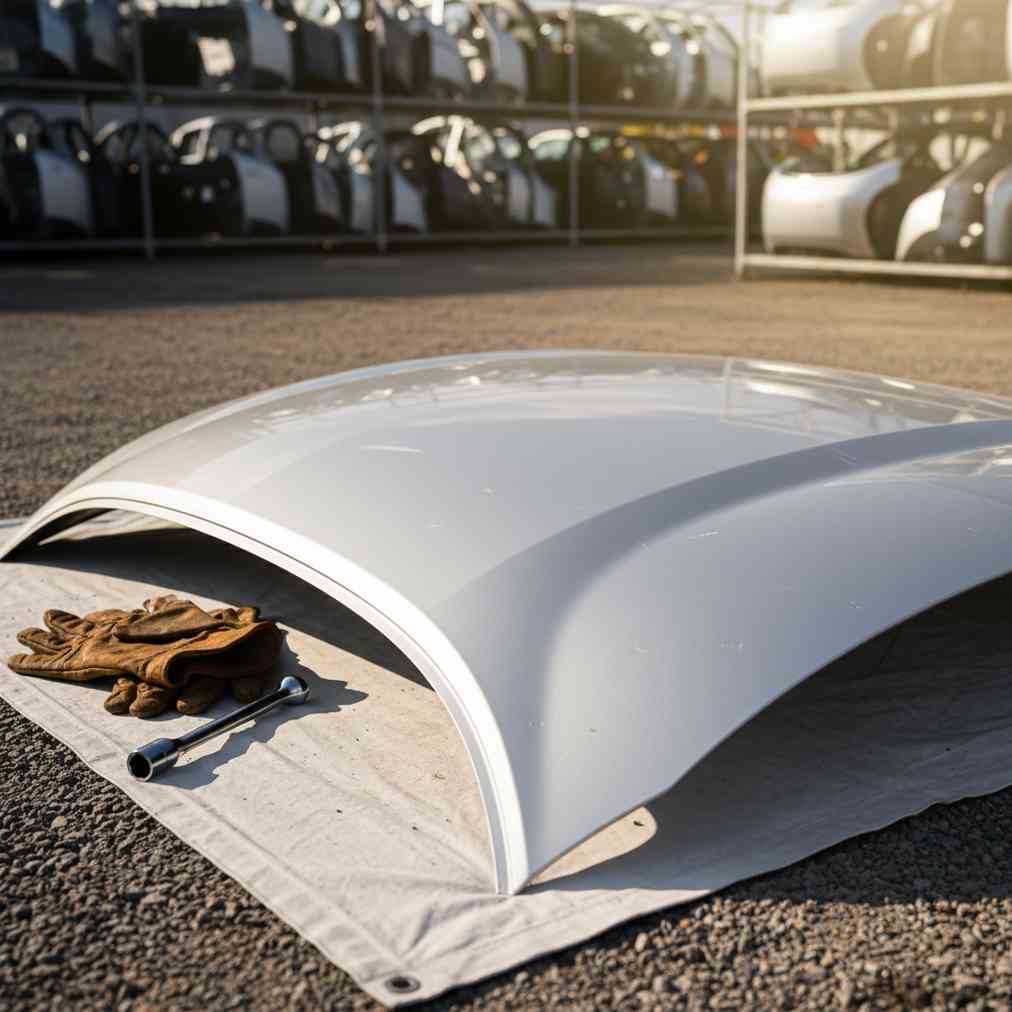
- Auto salvage yards – Your best bet for finding authentic OEM parts at competitive prices. Many local U-Pull-It auto salvage yards offer extensive inventories with self-service options
- Online marketplaces – eBay and specialized auto parts retailers provide wide selection and delivery options
- Junkyards and pick-a-part facilities – Pick-and-pull junkyards let you inspect parts firsthand before purchase
- Auto recyclers – Professional auto recyclers often provide quality guarantees and compatibility verification
Essential Inspection Checklist
| Inspection Area | What to Check | Red Flags |
|---|---|---|
| Structural Integrity | Frame rails, mounting points, overall shape | Cracks, severe rust, bent areas |
| Surface Condition | Paint, dents, scratches | Deep rust, multiple collision damage |
| Hinge Areas | Bolt holes, threaded inserts | Stripped threads, enlarged holes |
| Underside | Reinforcement bars, insulation | Missing brackets, rodent damage |
When shopping for OEM car parts, compatibility is crucial. Always verify the part number matches your vehicle’s year, make, and model. OEM car parts meaning Original Equipment Manufacturer ensures proper fit and finish.
Tools and Safety Equipment Required
Before beginning your hood removal and installation project, gathering the right tools is essential for both safety and efficiency. Mechanics recommend having this set of tools to ensure professional-quality results.
Essential Tool List
- Socket wrench set – 10mm and 12mm sockets are most commonly needed
- Adjustable wrenches – For various bolt sizes and tight spaces
- Screwdrivers – Both flathead and Phillips for clip removal
- Trim removal tools – For disconnecting plastic clips without damage
- Helper/assistant – Hoods are heavy and require two-person handling
Safety Precautions
- Disconnect battery – Prevents electrical shorts from hood-mounted sensors
- Secure hood support – Use proper hood stands or have assistant maintain control
- Protect surrounding surfaces – Cover windshield and fenders with towels
- Wear safety equipment – Gloves and safety glasses are non-negotiable
“Proper fitment is extremely important when buying a replacement hood. You’ll need one that’s specifically designed for your vehicle to ensure secure and precise alignment with adjacent parts, like your fenders and front bumper cover.”
– CarParts.com Expert
Step-by-Step Hood Removal Process
Removing a car hood safely requires methodical approach and attention to detail. This process is similar to other DIY panel replacement projects but has unique considerations due to the hood’s size and weight.
Preparation Steps
- Park safely – Choose level ground with adequate workspace around vehicle
- Engage parking brake – Ensure vehicle stability during work
- Disconnect battery – Remove negative terminal to prevent electrical issues
- Gather tools – Have all necessary equipment within reach
Disconnection Process
Start by opening the hood fully and securing it with the factory prop rod. Video tutorials can provide visual guidance for this process. Locate all connections that must be disconnected:
- Wiring harnesses – Disconnect any hood-mounted lights or sensors
- Washer fluid lines – Remove hoses carefully to avoid spillage
- Support cables – Detach hood release cables if present
- Insulation clips – Remove any hood liner or insulation attachments
Bolt Removal Technique
The hood typically attaches to the vehicle via hinge bolts. Professional installation guides emphasize the importance of proper bolt removal sequence:
- Locate hinge bolts – Usually 2-4 bolts per hinge side
- Loosen gradually – Slightly loosen all bolts before removing any completely
- Support hood weight – Have assistant hold hood or use proper support
- Remove systematically – Take out one side completely, then the other
Installing Your Used Car Hood
Installation reverses the removal process but requires careful attention to alignment and fit. Similar to crash repair using junkyard parts, proper installation ensures safety and functionality.
Initial Positioning
Before attempting installation, inspect your used hood one final time. Professional body shops recommend this final check to avoid installation problems:
- Clean mounting surfaces – Remove dirt and debris from hinge areas
- Check hardware – Ensure all bolts and washers are present
- Test fit hinges – Verify hinge compatibility before lifting hood
- Prepare workspace – Clear area for safe maneuvering
Alignment and Adjustment
| Gap Area | Target Measurement | Adjustment Method |
|---|---|---|
| Hood to Fender | 3-5mm consistent | Loosen hinge bolts, shift position |
| Hood to Headlights | Even alignment | Adjust front edge position |
| Hood to Grille | Factory spacing | Fine-tune hinge placement |
Final Connections
Once alignment is satisfactory, reconnect all previously disconnected components. Installation guides emphasize the importance of this final step:
- Wiring harnesses – Reconnect hood lights and sensors
- Washer lines – Ensure secure connection to prevent leaks
- Hood latch – Verify proper engagement and release
- Battery connection – Reconnect negative terminal
Performance Upgrades and Special Considerations
Some enthusiasts prefer aftermarket hoods for performance benefits. Carbon fiber hoods offer weight reduction advantages but require special handling considerations.
Hood Pin Installation
For added security, especially with performance hoods, hood pins provide additional securing. This modification involves:
- Precise drilling – Measure twice, drill once for pin placement
- Proper spacing – Ensure pins don’t interfere with other components
- Quality hardware – Use corrosion-resistant pins and brackets
- Professional appearance – Align pins symmetrically for best results
Cost Savings and Budget Considerations
Choosing used auto parts for hood replacement offers substantial savings compared to new components. Understanding the financial benefits helps justify the DIY approach and parts selection.
| Hood Type | New Price Range | Used Price Range | Potential Savings |
|---|---|---|---|
| Economy Car OEM | $300-600 | $75-150 | Up to 75% |
| Mid-size Sedan | $400-800 | $100-200 | Up to 70% |
| Truck/SUV | $500-1200 | $125-300 | Up to 65% |
| Premium/Luxury | $800-2000 | $200-500 | Up to 60% |
The reasons people buy used auto parts extend beyond cost savings to include environmental benefits and parts availability for older vehicles.
Additional Cost Factors
- Professional installation – Can add $150-300 to total cost
- Paint matching – May require $200-500 for proper color match
- Prep work – Cleaning and minor repairs add time and materials
- Transportation – Factor delivery or pickup costs for large parts
Common Mistakes and How to Avoid Them
Learning from common installation errors saves time and prevents damage. Understanding these pitfalls helps ensure successful hood replacement project completion.
Compatibility Issues
- Wrong model year – Verify exact fit before purchase
- Trim level differences – Base vs. premium models may have different hoods
- Regional variations – Some markets have unique specifications
- Aftermarket modifications – Previous owner modifications may affect fitment
“Removing a hood isn’t difficult, per se. The steps are simple. But having a helper around does make it easier to lift.”
– Pull-A-Part Expert
Installation Errors
- Inadequate support – Never work under unsecured hood
- Rushed alignment – Take time to achieve proper gaps
- Forgotten connections – Double-check all electrical and fluid connections
- Over-tightening bolts – Follow manufacturer torque specifications
Maintenance and Long-term Care
Proper maintenance extends the life of your installed hood and maintains vehicle appearance. Regular car maintenance includes hood-specific care items.
Regular Inspection Points
- Hinge operation – Lubricate hinges annually or as needed
- Latch mechanism – Ensure proper engagement and release
- Weather sealing – Replace worn rubber seals to prevent water intrusion
- Paint condition – Address chips and scratches promptly to prevent rust
Understanding common car problems helps identify when hood-related issues may be developing, allowing for proactive maintenance.
Environmental Impact and Recycling Benefits
Choosing used car parts contributes to environmental sustainability by reducing manufacturing demands and keeping functional components out of landfills. Recycled auto parts offer both economic and environmental advantages.
- Reduced mining – Less demand for raw materials
- Energy savings – Manufacturing new parts requires significant energy
- Waste reduction – Extends useful life of automotive components
- Carbon footprint – Lower overall environmental impact
The growing market for used auto parts continues to expand as more consumers recognize these benefits and seek cost-effective repair solutions.
Professional vs. DIY Installation
While hood installation is within reach of many DIY enthusiasts, some situations may warrant professional installation. Understanding when to tackle the job yourself versus seeking professional help ensures optimal results.
| DIY Appropriate | Professional Recommended |
|---|---|
| Direct OEM replacement | Collision damage repair |
| Basic tool availability | Frame alignment needed |
| Helper available | Paint work required |
| Time and patience | Insurance claim involved |
When choosing professional installation, research qualified auto repair shops that have experience with your vehicle make and model.
Conclusion and Final Tips
Successfully pulling and installing a used car hood requires careful planning, proper tools, and attention to detail. The process offers significant cost savings while providing valuable hands-on automotive experience.
Key success factors include thorough parts inspection, proper safety precautions, careful alignment during installation, and complete reconnection of all components. Visual guides and step-by-step tutorials provide additional support for DIY installers.
Whether sourcing parts from U-Pull-It junkyards or purchasing from specialized retailers, the investment in quality used parts and careful installation pays dividends in both cost savings and vehicle reliability. Remember that patience and methodical approach are your best tools for achieving professional-quality results.


Leave a Reply
You must be logged in to post a comment.