Why Rust-Free Classic Car Panels Matter
Finding rust-free replacement panels for classic car restorations is the cornerstone of a successful and cost-effective project. Rust compromises structural integrity, increases repair costs exponentially, and can turn your dream restoration into a nightmare. When sourcing panels from salvage yards near you, identifying truly rust-free components requires knowledge, patience, and the right inspection techniques.
Used panels from salvage yards offer significant advantages over reproduction parts, including substantial cost savings of up to 70% compared to new panels, access to rare or discontinued components that maintain originality, and superior factory metal thickness and stamping quality. These original panels often feature better fitment than reproductions and help preserve the authentic character of classic vehicles.
Understanding Rust Types and Severity Levels
Before inspecting panels, you must understand the different types of rust and their implications for your restoration project. Rust severity levels determine whether a panel is salvageable or should be avoided entirely.
| Rust Type | Description | Salvageability |
|---|---|---|
| Surface Rust | Light oxidation on surface, easily removed | Excellent – minor cleanup required |
| Scale Rust | Flaky rust with pitting, metal thinning | Moderate – patch repairs needed |
| Penetrating Rust | Holes and perforations through metal | Poor – avoid unless minimal |
| Structural Rust | Affects mounting points and framework | Reject – not safe for restoration |
Essential Tools for Panel Inspection
Professional panel inspection requires the right tools to detect hidden rust and assess metal integrity. Come prepared with these essential items when visiting salvage yards:
- Powerful LED flashlight – illuminates dark areas and seams
- Inspection mirror – examines hidden surfaces and backsides
- Pick or awl – gently probes suspect areas for perforation
- Magnet – detects body filler (won’t stick to Bondo)
- Small hammer – taps panels to check for solid metal sound
- Measuring tape – verifies panel dimensions and alignment
- Camera – documents findings for later reference
Critical Rust-Prone Areas to Inspect
Rust tends to develop in predictable locations where moisture accumulates or protective coatings fail. Focus your inspection on these high-risk areas that commonly hide corrosion:
Seams and Joints
Factory seams where panels join together are prime locations for rust initiation. Water and debris collect in these areas, breaking down protective coatings and creating ideal conditions for corrosion. Pay special attention to:
- Door frame seams and weather stripping channels
- Fender-to-body attachment points
- Hood and trunk lid mounting areas
- Window and windshield surround seams
Lower Panel Sections
Gravity causes moisture, salt, and debris to settle in lower areas of body panels. These sections experience the harshest conditions and show rust first:
- Rocker panels – often completely rusted through
- Door bottoms – check drain holes for blockages
- Fender wells – especially inner surfaces and lips
- Quarter panel lower sections – behind rear wheels
Concealed Areas
Rust often develops in areas you can’t see without disassembly. These hidden zones require careful inspection with mirrors and flashlights. Expert restoration techniques emphasize checking these concealed locations:
- Inside door cavities and window frame channels
- Behind trim pieces and moldings
- Under sound deadening material
- Internal reinforcement structures
Step-by-Step Visual Inspection Process
A systematic visual inspection forms the foundation of rust detection. Follow this comprehensive process to evaluate panel condition effectively:
Exterior Surface Examination
Begin your inspection in good natural lighting, preferably outdoors. Artificial lighting can hide rust discoloration and surface irregularities that natural light reveals clearly.
- Overall condition assessment – look for dents, scratches, and obvious damage
- Paint evaluation – note color mismatches, texture differences, or overspray
- Surface rust spots – identify any oxidation breaking through paint
- Panel alignment – check for warping, sagging, or misalignment with adjacent panels
Interior Surface Investigation
Interior surfaces often show rust development before exterior signs appear. Professional restoration methods emphasize checking internal areas thoroughly:
- Remove interior panels when possible to access inner surfaces
- Check for rust staining or water damage evidence
- Examine spot welds and factory seams for integrity
- Look for previous repair attempts or modifications
Physical Testing Techniques
Visual inspection alone isn’t sufficient for identifying all rust damage. Physical testing reveals hidden problems and confirms preliminary findings.
Probe Testing Method
Use a sharp pick or awl to gently probe suspected rust areas. This technique helps determine metal thickness and identifies perforations hidden under surface coatings.
“The key is to take your time, do some probing, and take things apart as needed so you can see everything. It can end up making a big difference in your restoration labor costs if you end up buying panels that are rusty or damaged.”
Classic Car Restoration Expert
- Apply gentle pressure – don’t force the tool through good metal
- Test around rust stains and discolored areas
- Check the backside of problem areas when accessible
- Document perforation locations and sizes
Sound Testing
Tapping panels with a small hammer or solid object produces different sounds based on metal condition. This technique helps identify thin or compromised areas:
- Solid metal – produces clear, consistent ringing sound
- Thin or rusty metal – creates dull, hollow, or weak sounds
- Body filler areas – sound muffled compared to surrounding metal
- Perforated sections – produce rattling or empty sounds
Detecting Hidden Body Filler
Body filler (Bondo) often conceals rust damage in used panels. Authentic restoration techniques require identifying these repairs before purchase:
- Magnet test – magnets won’t stick to thick filler areas
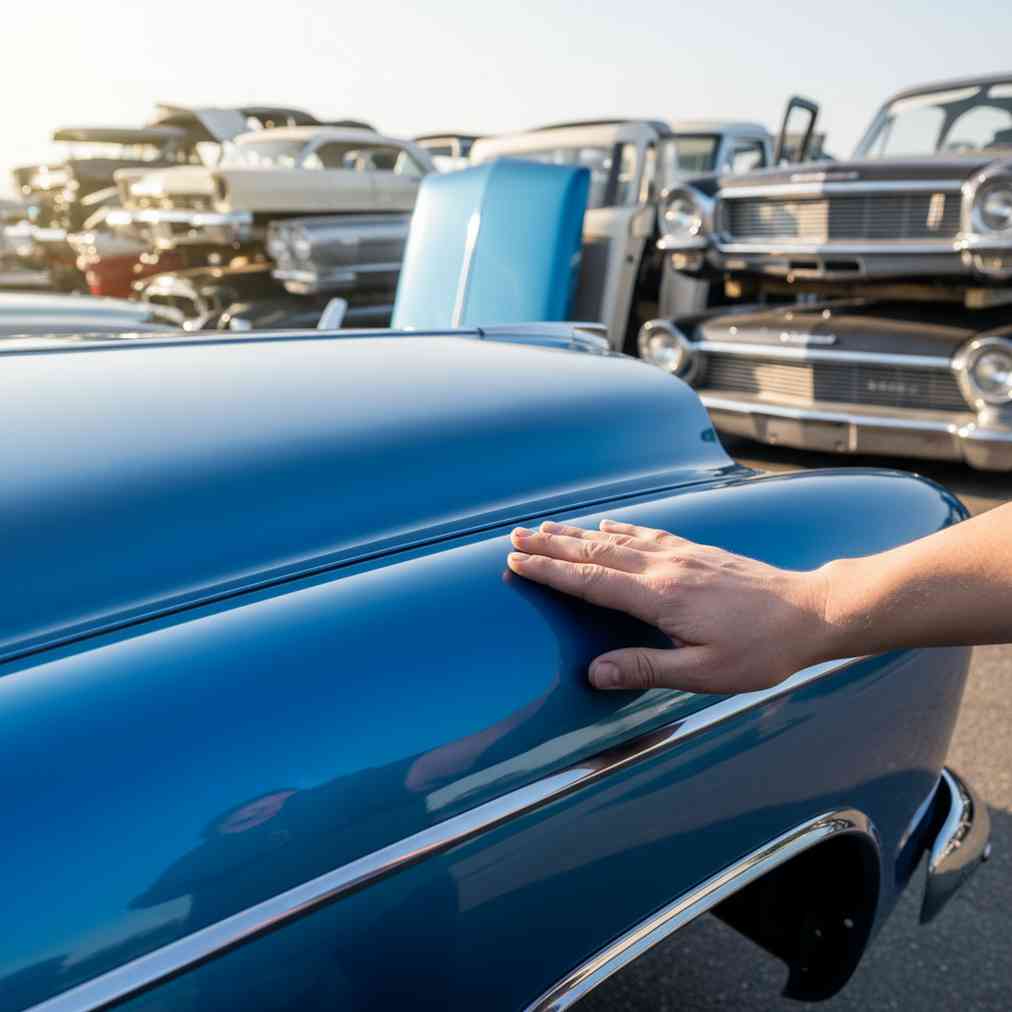
- Surface feel – run your hand over the panel to detect thickness variations
- Temperature differences – filler feels different from metal in various weather
- Sound testing – filled areas produce muffled sounds when tapped
Excessive body filler often indicates underlying rust that was covered rather than properly repaired. Avoid panels with large filled areas or multiple repair attempts.
Evaluating Panel Structural Integrity
Beyond rust assessment, evaluate the panel’s structural condition and suitability for restoration. Professional panel replacement methods require sound mounting points and proper geometry.
Mounting Point Inspection
- Check all bolt holes for elongation or cracking
- Verify spot weld integrity at attachment points
- Examine brackets and reinforcements for damage
- Test hinge mounting areas for wear or stress cracks
Panel Geometry Assessment
- Measure panel dimensions against known specifications
- Check for warping using straight edges
- Verify proper crown and contour shapes
- Assess flanges and mounting edges for straightness
Panel Compatibility and Fitment Verification
Ensuring proper fitment prevents costly modifications and installation problems. Verify compatibility before purchasing any replacement panel:
| Verification Factor | What to Check | Why It Matters |
|---|---|---|
| Vehicle Year Match | Exact model year compatibility | Panel shapes changed between years |
| Model Variation | Base vs. premium trim differences | Mounting points and features vary |
| Factory Options | Sunroof, vinyl top, or other options | Affects panel configuration and holes |
| Left vs. Right | Proper side orientation | Panels are not interchangeable |
Documentation and Purchase Considerations
Before finalizing your purchase, gather information that will help ensure successful installation and avoid problems later:
- Photography – document all angles, damage, and condition details
- Measurements – record key dimensions for verification
- Part numbers – locate and record any factory stampings or numbers
- Vehicle source information – year, make, model, and VIN if available
- Removal method – how the panel was removed affects edge condition
Negotiation and Pricing Factors
Understanding panel condition helps determine fair pricing. Use your inspection findings to negotiate based on actual condition rather than appearance alone. Similar to evaluating used car body parts at junkyards, condition directly impacts value and usability.
- Surface rust panels: 80-90% of clean panel value
- Minor scale rust: 60-70% of clean panel value
- Significant rust damage: 30-40% of clean panel value
- Excellent condition: Full market value or premium
Transportation and Storage Best Practices
Proper handling prevents damage to newly acquired panels and protects your investment. Professional panel handling techniques ensure parts remain in good condition until installation:
- Protective wrapping – prevent scratches and additional rust exposure
- Flat storage – avoid bending or warping large panels
- Climate control – store in dry environments when possible
- Rust prevention – apply temporary protective coatings if storage will be extended
Common Mistakes to Avoid
Learn from common errors that lead to poor panel purchases and restoration setbacks:
- Rushing the inspection – take sufficient time for thorough evaluation
- Focusing only on visible surfaces – hidden rust is often more extensive
- Ignoring previous repairs – poor previous work affects future restoration quality
- Assuming all rust is fixable – extensive corrosion makes panels unusable
- Forgetting about shipping costs – large panels are expensive to ship
- Not verifying compatibility – incorrect panels waste time and money
Alternative Sources and Modern Solutions
While salvage yards remain excellent sources for rust-free panels, consider these additional options for hard-to-find components:
- Specialty restoration suppliers – offer reproductions of common panels
- Classic car clubs – members often have parts or know sources
- Online marketplaces – expanded reach for rare components
- Metal fabrication shops – can recreate simple panels from patterns
Modern welding and fabrication techniques have expanded repair possibilities, but starting with sound, rust-free base material remains the preferred approach for quality restorations.
Environmental Benefits of Used Panel Selection
Choosing rust-free used panels over new reproductions provides significant environmental advantages. This approach reduces manufacturing demand, conserves raw materials, and prevents usable components from entering landfills. When you sell your current project vehicle for parts, consider getting a cash quote for your junk car to help fund your restoration while contributing to the recycling ecosystem.
Professional Installation Considerations
Even perfect rust-free panels require proper installation for successful restoration. Understanding classic car metal composition helps in selecting appropriate welding techniques and materials for panel attachment.
- TIG welding – preferred for clean, low-heat joints that minimize warping
- Spot welding – replicates factory attachment methods
- Adhesive bonding – suitable for non-structural applications
- Panel alignment – requires patience and precision for proper fit
Conclusion: Building a Successful Classic Car Restoration
Successfully identifying rust-free replacement panels requires patience, knowledge, and systematic inspection techniques. The time invested in thorough evaluation pays dividends in reduced restoration costs, improved structural integrity, and authentic finished results. Remember that even minor surface rust can be addressed with proper preparation, but extensive corrosion damage makes panels unsuitable for quality restoration work.
By following these comprehensive inspection guidelines, understanding rust types and severity levels, and using proper evaluation tools, you’ll be equipped to identify truly rust-free panels that will serve your classic car restoration for decades to come. The investment in quality components from the beginning ensures your restored classic maintains its value, safety, and authenticity for future generations to enjoy.


Leave a Reply
You must be logged in to post a comment.