Understanding the EVAP System and Its Critical Role in Emissions Control
The Evaporative Emission Control (EVAP) system prevents harmful gasoline vapors from escaping into the atmosphere, playing a crucial role in reducing vehicle emissions. When this system fails, it’s one of the most common causes of a Check Engine Light, making EVAP parts highly sought after at salvage yards. For junkyard enthusiasts looking to fix emissions issues affordably, understanding these parts can save hundreds of dollars in repairs.
The system captures fuel vapors from your gas tank and stores them in a charcoal canister until the engine can safely burn them. Two electronically controlled solenoids – the purge solenoid and vent solenoid – manage this process under direction from your vehicle’s computer.
Common EVAP System Failures and Diagnostic Codes
| Component | Primary Function | Common Failure Mode | Related CEL Codes |
|---|---|---|---|
| Charcoal Canister | Stores fuel vapors in activated charcoal | Cracks in housing, charcoal saturation | P0440, P0455 |
| Purge Solenoid | Controls vapor flow to engine intake | Stuck open (vacuum leak) or closed | P0441, P0496 |
| Vent Solenoid | Allows fresh air in, seals during testing | Stuck open (continuous leak) or closed | P0449, P0455 |
Understanding these failure patterns helps you identify which emissions parts you need and what to look for when shopping at salvage yards. A stuck-open purge solenoid creates a vacuum leak that causes rough idle and poor fuel economy, while a failed vent solenoid can make your gas pump nozzle click off repeatedly during fueling.
Locating EVAP Parts in the Junkyard
Successful EVAP part hunting requires knowing where manufacturers typically mount these parts. The locations are fairly standardized across most vehicles, making your junkyard search more efficient.
Charcoal Canister Location
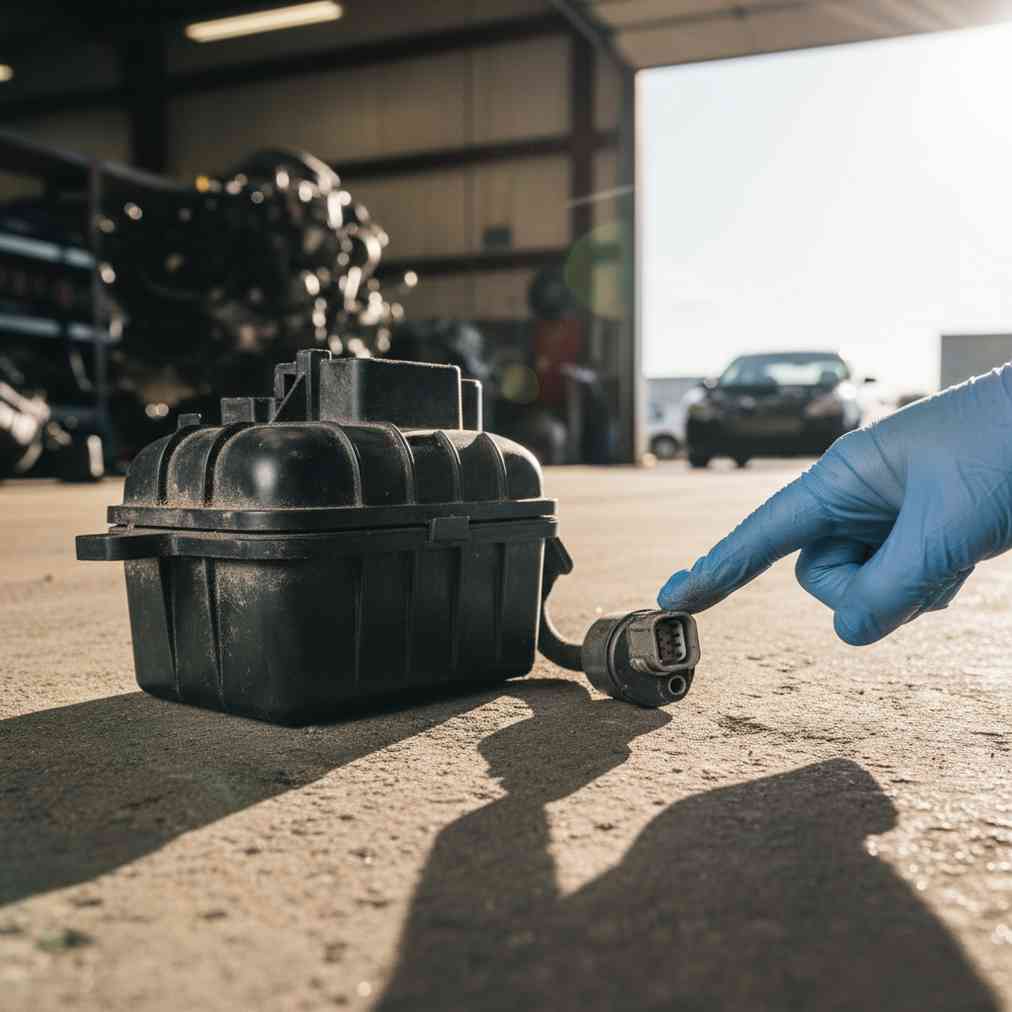
The charcoal canister is typically a black, cylindrical or rectangular plastic unit mounted underneath the vehicle. Most manufacturers place it near the fuel tank or rear axle area for optimal vapor collection. Look for a container with multiple vacuum hose connections – usually three to four ports.
Purge Solenoid Location
The purge solenoid lives in the engine bay, often mounted on top of the engine near the intake manifold or throttle body. It features two rubber hoses: one connecting to the charcoal canister and another leading to the engine intake. This positioning allows it to control vapor flow into the combustion chambers.
Vent Solenoid Location
The vent solenoid is almost always located on or immediately adjacent to the charcoal canister underneath the vehicle. It typically has one hose connection to the canister and another leading to the atmosphere, often with a small filter to prevent contamination.
Essential Inspection Checklist for Salvage EVAP Parts
Proper inspection saves you from installing defective parts and facing the same Check Engine Light issues. Here’s a comprehensive approach based on research from automotive repair specialists and professional diagnostic techniques.
Charcoal Canister Inspection Protocol
- Physical Integrity Check: Examine the entire plastic housing for cracks, splits, or impact damage from road debris
- Hose Port Inspection: Verify all connection ports are intact and not brittle or broken
- Internal Rattle Test: Gently shake the canister – excessive rattling may indicate deteriorated internal charcoal
- Mounting Bracket Condition: Check that mounting points aren’t cracked or missing
Solenoid Testing Procedures
Both purge and vent solenoids require electrical and mechanical testing. Most EVAP solenoids are two-wire, normally closed devices that open when powered.
Visual and Basic Inspection
- Electrical Connector: Look for corrosion, broken pins, or damaged wiring
- Housing Condition: Check for cracks or impact damage
- Port Cleanliness: Inspect for internal debris or blockages
Mechanical Seal Testing (No Power Applied)
This critical test determines if the solenoid seals properly in its normal state:
- Purge Solenoid: Apply 15 inches of mercury vacuum to the intake manifold port. The valve should hold vacuum without leaking
- Vent Solenoid: Try blowing air through the valve. If normally closed, you should not be able to blow air through it
Electrical Operation Testing
Using a 12V battery or power probe, test the solenoid’s electrical function:
- Listen for the Click: When powered, you should hear a distinct clicking sound indicating coil activation
- Mechanical Response: After applying power, re-test the seal – the valve should now allow airflow, indicating it has opened
Expert Tip: For purge solenoids, if you can blow through it before applying power, it’s stuck open and defective. If you cannot blow through it after applying power, it’s stuck closed and also defective.
Advanced Testing Techniques for Professional Results
Professional technicians use additional methods to ensure EVAP parts meet OEM specifications. These techniques, highlighted in recent automotive research, can help you select the highest quality salvage parts.
Vacuum Decay Testing
This test simulates the actual diagnostic procedure your vehicle’s computer performs:
- Apply a controlled vacuum to the system
- Monitor pressure decay over time
- Acceptable leak rates vary by manufacturer but typically allow no more than 0.5 inches mercury loss per minute
Flow Rate Testing
For purge solenoids, measuring actual flow rate ensures proper vapor management:
- Use a calibrated flow meter
- Test at various vacuum levels (typically 5-20 inches mercury)
- Compare results to OEM specifications
Common Pitfalls and What to Avoid
Experienced junkyard shoppers know these red flags that indicate problematic EVAP parts:
Charcoal Canister Warning Signs
- Fuel Staining: Dark stains around ports indicate fuel contamination from overfilling
- Excessive Weight: A canister that feels unusually heavy may be fuel-saturated
- Sweet Odor: Strong fuel smell suggests compromised internal seals
Solenoid Deal Breakers
- Corrosion on Terminals: Green or white buildup indicates water intrusion
- Damaged Vacuum Ports: Cracked or missing nipples require expensive repairs
- No Click When Powered: Silent operation means internal coil failure
Installation Tips and Best Practices
Proper installation of salvaged EVAP parts ensures long-term reliability and prevents return trips to the salvage yard:
- Replace All Vacuum Hoses: Old, brittle hoses often cause new leaks
- Use OEM-Style Clamps: Aftermarket clamps may not seal properly on EVAP systems
- Clear All Codes Before Testing: Allow the system to complete several drive cycles
- Check Related Parts: A failed purge solenoid may indicate issues with the charcoal canister
Cost Savings and Environmental Benefits
Choosing salvaged EVAP parts offers significant advantages beyond cost savings. When your vehicle needs emissions repairs, you can find quality used auto parts that perform like new at a fraction of dealer prices.
| Part | New Part Cost | Salvage Cost | Potential Savings |
|---|---|---|---|
| Charcoal Canister | $150-$400 | $25-$75 | Up to 80% |
| Purge Solenoid | $50-$150 | $10-$30 | Up to 75% |
| Vent Solenoid | $40-$120 | $8-$25 | Up to 80% |
Beyond personal savings, using salvaged parts supports the circular economy by extending the useful life of automotive parts and reducing manufacturing demand for new ones.
Troubleshooting After Installation
Even with proper testing, some issues may arise after installation. Understanding the diagnostic process helps you identify whether the problem lies with your salvaged part or elsewhere in the system:
- Persistent P0441 Codes: May indicate incorrect purge valve flow rate or blocked vapor lines
- Fuel Tank Pressure Issues: Could suggest vent solenoid problems or blocked atmospheric vent
- Rough Idle After Fueling: Often points to a purge solenoid stuck in the open position
Professional diagnostic techniques, as outlined in current automotive training programs, emphasize systematic testing rather than part replacement guessing.
When to Consider Selling Your Vehicle Instead
Sometimes EVAP system problems indicate broader issues that make repair economically unfeasible. If you’re facing multiple system failures or the vehicle has high mileage with other pending repairs, you might consider getting a cash offer for your vehicle rather than investing in repairs.
Signs that selling might be more practical include:
- Multiple simultaneous EVAP codes
- Fuel system contamination from poor maintenance
- Structural damage to fuel tank or lines
- Vehicle value less than total repair costs
Future-Proofing Your EVAP System
Modern vehicles incorporate increasingly sophisticated EVAP systems with additional sensors and monitoring capabilities. Understanding these evolving systems helps you make informed decisions about repairs and part compatibility.
Recent developments include:
- Enhanced Leak Detection: Newer systems can detect smaller leaks
- Integrated Diagnostics: Advanced monitoring reduces false positives
- Improved Materials: Better plastic formulations resist cracking and degradation
When shopping for EVAP parts, prioritize newer model donors when possible, as these parts often incorporate design improvements that increase longevity and reliability.
Building Your EVAP Repair Toolkit
Success with EVAP system repairs requires the right tools. Based on insights from professional training resources, here’s what experienced technicians recommend:
Essential Tools
- Hand-held Vacuum Pump: For testing solenoid seal integrity
- Digital Multimeter: To verify solenoid electrical operation
- Smoke Machine (Optional): Professional-grade leak detection
- Basic Hand Tools: For removal and installation
Diagnostic Equipment
- OBD-II Scanner: To read and clear diagnostic codes
- Pressure Gauge: For measuring system vacuum and pressure
- Flow Meter: To verify purge solenoid flow rates
Investing in quality diagnostic tools pays dividends when working with emissions systems, as accurate testing prevents costly mistakes and repeated repairs.
Armed with this comprehensive knowledge of EVAP system parts, their common failures, and proper testing procedures, you’re well-equipped to tackle emissions repairs using quality salvage parts. Remember that patience and thorough testing at the junkyard saves time and money in the long run, ensuring your repair succeeds the first time.


Leave a Reply
You must be logged in to post a comment.