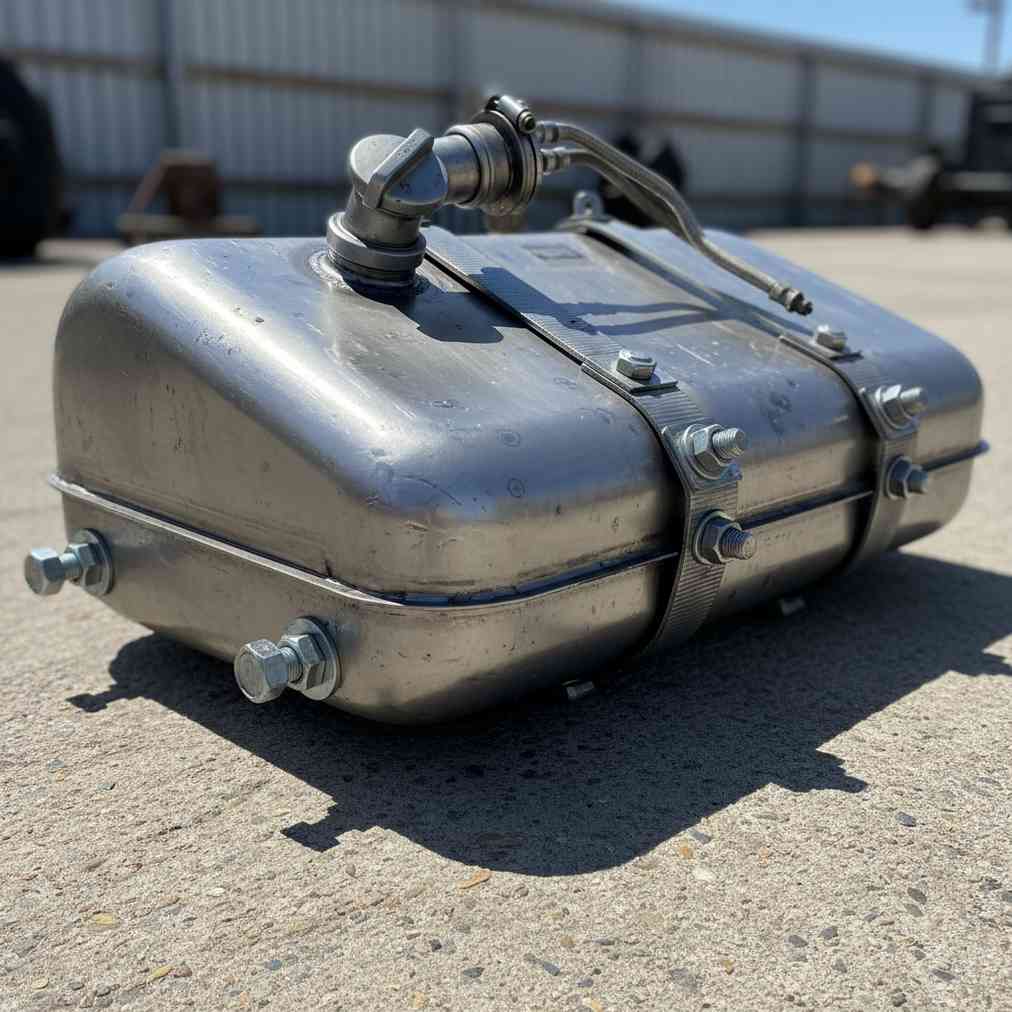
Understanding the Importance of Fuel Tank and Filler Neck Inspection
Finding a quality used fuel tank and filler neck requires careful inspection and proper safety protocols. These critical fuel system parts are essential for safe vehicle operation, and purchasing used versions can save hundreds of dollars compared to new replacements. Whether you’re restoring a classic car or replacing damaged parts, understanding the inspection process and safety requirements is crucial for success.
The fuel system is one of the most dangerous areas to work on in any vehicle due to the highly flammable nature of gasoline vapors. A single spark can cause an explosion, making proper safety precautions and thorough inspection absolutely essential when searching local salvage yards for these parts.
Essential Safety Precautions for Fuel Tank Removal
Fuel vapor hazards represent the primary danger when working with fuel tanks. Gasoline vapors are extremely flammable and heavier than air, meaning they can accumulate in low areas and ignite from even the smallest spark. Understanding these risks is fundamental to safe fuel system work.
Critical Safety Requirements
- Fuel Level Management: Ensure the vehicle has 1/4 tank of fuel or less before beginning removal work
- Non-Sparking Tools: Use brass tools when removing lock rings and working near the tank to prevent spark generation
- Proper Ventilation: Work in well-ventilated areas to prevent vapor accumulation
- Fire Extinguisher: Keep appropriate fire suppression equipment nearby
- No Smoking Policy: Maintain a strict no-smoking zone in the work area
For large-scale operations, vapor purging with air blowers or inerting with CO₂ until the Lower Explosive Limit (LEL) drops below 20% is recommended. However, for typical salvage yard removal, focusing on minimal fuel levels and proper tool selection remains most important.
Professional Fuel Tank Removal Process
Proper fuel tank removal requires systematic approach and appropriate equipment. The process involves multiple steps that must be followed carefully to ensure safety and preserve the tank’s condition for future use.
Equipment and Support Requirements
- Transmission Jack: Essential for supporting the tank weight during strap removal
- Safety Stands: Provide additional support and stability
- Fuel Removal Equipment: Siphon pumps or fuel transfer equipment for remaining gasoline
- Proper Containers: Approved fuel containers for temporary storage
When lowering the tank, pay careful attention to attached fuel lines and electrical harnesses. These connections must be disconnected methodically to avoid damage to valuable parts that accompany the tank assembly.
“Residual fuel must be completely removed before working on or transporting the tank. Never reuse old fuel, as contamination and degradation can cause engine problems and safety hazards.”
Comprehensive Used Fuel Tank Inspection Guide
Thorough inspection determines whether a used fuel tank is worth purchasing and installing. This process involves both external and internal examination to identify potential problems that could lead to leaks, contamination, or system failure.
External Inspection Checklist
| Inspection Point | What to Look For | Red Flags |
|---|---|---|
| Surface Condition | Smooth, intact exterior finish | Wet spots, staining, or fuel odors |
| Structural Integrity | Original shape without deformation | Dents, cracks, or impact damage |
| Corrosion Assessment | Clean metal with minimal surface rust | Heavy rust, pitting, or corrosion holes |
| Mounting Points | Solid attachment brackets and straps | Damaged or corroded mounting hardware |
Wet spots on or underneath the tank indicate active leaks and should immediately disqualify a tank from consideration. Even small leaks can worsen over time and create dangerous conditions.
Internal Inspection Techniques
Internal inspection requires access through the fuel pump or sending unit opening. Modern tanks often have large enough access points to accommodate inspection cameras or bright flashlights for visual assessment.
- Visual Inspection: Look for rust flakes, debris, or corrosion inside the tank
- Solvent Rinse Test: Rinse with methyl alcohol or lacquer thinner, then dry in sunlight
- Water Test: Fill empty tank with water to identify leak locations
- Contamination Check: Examine for sediment, water, or foreign materials
The water test represents the most definitive method for leak detection. Mark any drips or wet spots that appear on the exterior surface. Seam leaks are notoriously difficult to repair reliably and often indicate the need for tank replacement rather than attempted repairs.
Filler Neck Inspection and Common Failure Points
The filler neck assembly is frequently the first part of the fuel system to fail due to its exposure to road debris, salt, and environmental conditions. This makes careful inspection particularly important when sourcing used parts.
Filler neck problems often manifest as fuel odors during filling, visible corrosion around connection points, or difficulty inserting the fuel nozzle. Understanding these common automotive issues helps identify quality replacement parts.
Critical Inspection Areas
- Metal Tube Condition: Check for rust, corrosion, or physical damage along the entire length
- Rubber Hose Integrity: Examine connection hoses for cracks, splits, or deterioration
- Clamp Security: Verify that hose clamps are tight and in good condition
- Mounting Bracket Condition: Assess brackets for structural soundness and proper alignment
Rust buildup where metal tubes meet rubber hoses represents the most common failure point. This area experiences the most stress and exposure to moisture, making it vulnerable to corrosion and subsequent leakage.
If the rubber hose shows any signs of cracking or hardening, plan for immediate replacement even if the metal portions appear sound. These hoses are relatively inexpensive but critical for safe operation.
Essential Parts and Hardware Checklist
Successful fuel tank installation requires more than just the tank itself. Collecting all necessary mounting hardware and connection parts during the initial salvage visit saves time and ensures proper installation.
| Part Category | Essential Items | Installation Notes |
|---|---|---|
| Tank Mounting | Mounting straps, bolts, nuts, brackets | All hardware must match vehicle specifications |
| Fuel Connections | Pump locking ring, fuel lines, quick-disconnect fittings | Handle quick-disconnects carefully to avoid damage |
| Filler System | Filler neck assembly, rubber hoses, clamps | Include all mounting brackets for body attachment |
| Electrical System | Wiring harness connector, sending unit connector | Verify connector compatibility with vehicle wiring |
The fuel pump locking ring is particularly important as these are often vehicle-specific and may not be readily available separately. Taking photos of the installation before removal can help with proper reassembly later.
Expert Tips for Successful Fuel System Salvage
Professional salvage operators emphasize that fuel system safety cannot be compromised. The emphasis on using non-sparking tools and maintaining minimal fuel levels reflects the serious danger associated with fuel vapor ignition.
- Documentation: Take detailed photos of all connections before disconnection
- Labeling: Mark fuel lines and electrical connections for proper reconnection
- Tool Selection: Invest in quality non-sparking tools for repeated fuel system work
- Disposal Planning: Arrange proper disposal for removed fuel before starting work
While specific failure rate statistics for used tanks aren’t widely published, maintenance guides consistently emphasize that rusted tanks should be replaced rather than repaired. Seam leak repairs are particularly unreliable and can lead to dangerous situations if they fail during operation.
Cost Considerations and Value Assessment
Used fuel tanks and filler necks typically cost 50-70% less than new replacements, making them attractive options for budget-conscious repairs. However, the inspection process requires time and expertise to avoid purchasing problematic parts.
When considering whether to sell your old vehicle for cash or repair it with salvaged parts, factor in the total cost of all necessary fuel system parts, not just the tank itself.
“The focus on proper inspection and safety procedures reflects the reality that fuel system failures can be catastrophic. Taking time to properly evaluate used parts prevents dangerous situations and costly repairs.”
Installation and Testing Recommendations
Proper installation of salvaged fuel system parts requires attention to detail and systematic testing to ensure safe operation. Even high-quality used parts can fail if improperly installed or tested.
- Pressure Testing: Test the system at operating pressure before final installation
- Leak Detection: Use soap solution to check all connections for small leaks
- Electrical Verification: Test fuel level sending unit operation before tank installation
- Ventilation Check: Ensure proper vapor recovery system function
Professional installation guidance from reputable automotive training programs emphasizes systematic testing and verification procedures that help prevent post-installation problems.
Environmental and Legal Considerations
Fuel system work involves environmental regulations regarding fuel disposal and vapor emissions. Understanding these requirements helps ensure compliance and protects both personal safety and environmental health.
Many jurisdictions require proper disposal of removed fuel and contaminated materials. Check local regulations before beginning work, as improper disposal can result in significant fines and environmental damage.
The salvage and reuse of fuel system parts contributes to environmental sustainability by reducing waste and resource consumption. Quality used parts provide reliable service while supporting circular economy principles in automotive repair and maintenance.


Leave a Reply
You must be logged in to post a comment.