Finding Quality Headlights and Taillights: A Complete Guide
Getting working headlights and taillights for common vehicle models doesn’t have to break the bank. With rising costs of new OEM parts often reaching several hundred dollars, savvy car owners are turning to salvage yards and used parts as cost-effective alternatives. The key to success lies in proper fit checks, lens condition assessment, and bulb/connector matching.
Modern technology, including generative AI and image recognition tools, is revolutionizing how we identify and verify automotive lighting parts. These innovations can improve identification accuracy by up to 40% when combined with traditional verification methods.
Essential Pre-Purchase Inspection Checklist
Visual Fit and Condition Checks
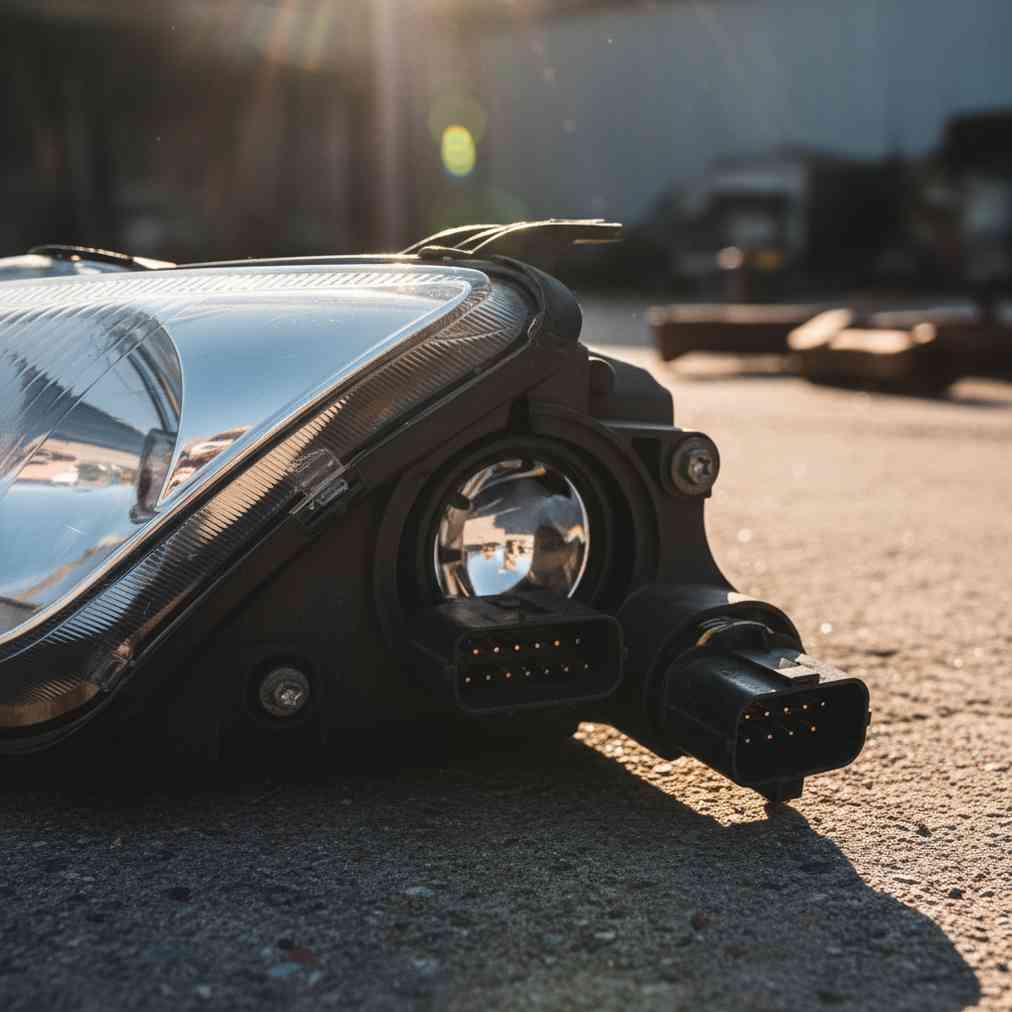
Before purchasing any used headlight or taillight assembly, conduct a thorough visual inspection. The lens condition is critical for both safety and legal compliance. Cracked, chipped, or hazed lenses can significantly reduce light output and may fail state inspection requirements.
- Lens clarity: Check for cracks, chips, or clouding
- Mounting points: Verify all tabs and brackets are intact
- Housing integrity: Look for impact damage or missing pieces
- Seal condition: Examine rubber seals for cracking or deterioration
- Reflector condition: Ensure internal reflectors aren’t damaged or peeling
Bulb and Connector Compatibility
Proper bulb and connector matching is essential for functional lighting systems. Most bulbs are removed by a quarter-turn or straight pull from the holder, but compatibility verification prevents costly mistakes.
| Check Point | What to Verify | Common Issues |
|---|---|---|
| Bulb Type | H11, 9006, LED, etc. | Wrong bulb size won’t fit |
| Connector Pins | Number and configuration | Electrical connection failures |
| Voltage Rating | 12V standard automotive | Incorrect voltage damage |
| Mounting Style | Twist-lock vs push-in | Bulb won’t secure properly |
Leveraging AI Technology for Part Identification
The integration of artificial intelligence and image recognition is transforming how we source automotive lighting parts. These sophisticated systems can analyze photographs against vast databases to provide instant compatibility feedback and condition assessment.
Photography Best Practices for AI Analysis
Quality photographs are crucial for accurate AI identification. Poor lighting or unclear images can lead to misidentification and compatibility issues.
- Preparation: Clean the part surface and use white gloves on shiny surfaces to avoid fingerprints
- Lighting: Ensure adequate lighting while avoiding harsh glare on reflective lenses
- Multiple angles: Capture front-facing, side profile, and close-up shots of markings
- Focus on details: Include stamped codes (DOT, SAE, manufacturer logos)
- Context inclusion: Provide vehicle make, model, and year information
Effective AI Prompts for Part Identification
Strategic prompting significantly improves AI accuracy when identifying automotive lighting parts. Here are proven prompt structures for different identification goals:
| Goal | Example Prompt Structure | Key Elements |
|---|---|---|
| General Part ID | “Identify this used headlight assembly. Vehicle is a [YEAR] [MAKE] [MODEL]. Focus on mounting tabs and lens markings.” | Vehicle context, specific features |
| Condition Assessment | “Analyze lens condition of this taillight. Check for pitting, hazing, or cracks. Compare shape to 2018 Honda Accord taillight.” | Condition focus, comparison reference |
| Connector Matching | “Close-up photo of headlight electrical connector. Describe pin configuration. Does this match H11 bulb connector?” | Electrical interface details |
| OEM Verification | “Examine stamped characters on assembly back. Are part numbers clear and consistent with genuine OEM markings?” | Authenticity verification |
Salvage Yard Shopping Strategies
Successful salvage yard shopping requires preparation and knowledge. Quality headlight assemblies move quickly at wrecking yards due to high demand and frequent damage in accidents. Having a systematic approach increases your chances of finding the right parts.
Before You Go
- Research your vehicle: Know exact year, make, model, and trim level
- Identify part numbers: Check existing parts for OEM numbers
- Understand removal process: Some assemblies require bumper removal
- Bring proper tools: Basic hand tools and flashlight
- Check yard inventory: Call ahead to confirm vehicle availability
When searching for the best junkyards near me, consider factors like inventory turnover, part quality, and pricing policies. Some yards offer warranties on lighting assemblies, providing additional peace of mind.
On-Site Inspection Process
Proper inspection of salvaged exterior parts prevents costly mistakes and ensures you get working assemblies. Follow this systematic approach:
- External examination: Check lens condition and housing integrity
- Internal inspection: Verify reflector condition and bulb holder integrity
- Electrical testing: If possible, test with 12V power supply
- Fitment verification: Compare mounting points to your vehicle specs
- Documentation: Photo any part numbers or identifying marks
Professional Removal and Installation Tips
Proper removal techniques prevent damage to both the salvaged part and surrounding vehicle parts. Professional removal methods vary significantly between vehicle models and manufacturers.
Common Removal Procedures
- Headlight assemblies: Often require removing grille or bumper covers
- Taillight assemblies: May need trunk liner or interior panel removal
- Bulb replacement: Usually accessible from behind the housing
- Electrical connections: Always disconnect battery before working
“Good headlight units disappear quickly at wrecking yards because they’re in high demand and often intact even when other parts are damaged.”
Salvage Yard Technician
Restoration and Refurbishment Options
Even salvaged lighting assemblies with minor issues can often be restored to excellent condition. DIY restoration techniques can significantly extend part life and improve appearance while maintaining cost savings.
Lens Restoration Methods
- Polishing compounds: Remove light scratches and hazing
- UV protective coatings: Prevent future degradation
- Professional restoration kits: Include multiple grades of abrasives
- Heat gun techniques: For severe hazing (advanced skill required)
Seal and Gasket Renewal
Rubber seal restoration prevents moisture intrusion and extends assembly life. Simple treatments can rejuvenate aged seals and maintain weather protection.
- Rubber conditioners: Restore flexibility to aged seals
- Sealant replacement: New automotive sealant for compromised areas
- Gasket lubrication: Proper installation of restored seals
Cost Analysis and Value Considerations
Understanding the economics of used versus new lighting assemblies helps make informed purchasing decisions. Smart used taillight shopping can deliver savings of 30-70% compared to OEM replacements.
| Cost Factor | New OEM | Used/Salvaged | Restored Used |
|---|---|---|---|
| Initial Cost | $200-$800+ | $50-$250 | $75-$300 |
| Warranty | Full manufacturer | Limited/None | Limited |
| Availability | Usually good | Variable | Limited |
| Installation Time | Standard | Standard | May require prep |
Testing and Quality Verification
Proper testing ensures your salvaged lighting assemblies function correctly before installation. Professional testing methods help identify electrical issues and prevent roadside failures.
Bench Testing Procedures
- 12V power supply testing: Verify all bulb circuits function
- Connector inspection: Check for corrosion or damage
- Resistance testing: Ensure proper electrical continuity
- Bulb compatibility: Test with vehicle-specific bulbs
“Always double-check your bulb trade number using local parts databases or stores before buying replacements. A small mismatch can lead to non-functioning lights or wiring issues.”
Professional Mechanic
Common Vehicle Models and Specific Considerations
Different vehicle manufacturers have unique approaches to lighting assembly design and mounting. Understanding these differences helps target your search more effectively.
Popular Models at Salvage Yards
- Honda Accord/Civic: Common availability, standard mounting
- Toyota Camry/Corolla: Reliable assemblies, good seal design
- Ford F-150: Multiple generations available, size variations
- Chevrolet Silverado: Heavy-duty construction, good durability
- BMW 3-Series: Higher value, complex designs
Future Trends and Technology Integration
The automotive lighting parts market continues evolving with technological advances. LED conversions, adaptive lighting systems, and improved AI identification tools are shaping the future of salvage part sourcing.
Emerging Technologies
- Predictive failure analysis: AI-based wear pattern recognition
- VIN-based searching: Precise compatibility confirmation
- Advanced restoration techniques: Professional-grade DIY solutions
- LED retrofit compatibility: Upgrading older assemblies
Legal and Safety Compliance
Ensuring your lighting assemblies meet legal requirements prevents citations and ensures road safety. DOT and SAE markings indicate compliance with federal standards, while state inspections verify proper operation.
- DOT compliance: Federal safety standards
- SAE ratings: Industry standardization
- State inspection requirements: Varies by location
- Brightness standards: Minimum and maximum output levels
Maximizing Your Investment
Getting the most value from salvaged lighting assemblies requires strategic shopping, proper installation, and ongoing maintenance. Consider the total cost of ownership, including restoration time and materials.
If you’re considering upgrading your vehicle or need to get an instant quote for your junk car to fund lighting repairs, professional evaluation can help determine the most cost-effective approach.
Success in sourcing quality headlights and taillights from salvage sources comes down to careful inspection, proper identification, and strategic restoration when needed. With AI technology enhancing the identification process and proven restoration techniques extending part life, used automotive lighting represents an excellent value proposition for cost-conscious vehicle owners.
Remember that safety should never be compromised for cost savings. When in doubt, consult with professionals and prioritize assemblies that meet all safety standards and legal requirements. With proper due diligence, salvaged lighting assemblies can provide years of reliable service at a fraction of new part costs.


Leave a Reply
You must be logged in to post a comment.