Why Testing Used Fuel Pumps and Senders Before Purchase Is Critical
Testing used fuel pumps and fuel senders before purchase is essential to avoid costly failures and unnecessary installation work. Since these parts often come from donor vehicles with unknown maintenance histories, pre-purchase verification can save hundreds of dollars in labor costs and prevent roadside breakdowns. Whether you’re shopping at junkyards near me or buying from private sellers, proper testing ensures you get functional parts that will serve your vehicle reliably.
The main advantage of buying used fuel system parts is significant cost savings – typically 50-70% less than new parts. However, the risk of purchasing faulty parts makes testing procedures absolutely crucial for any successful purchase.
Essential Tools for Testing Fuel Pumps and Senders
Before you head out to test used parts, gather these essential tools to perform accurate diagnostics:
- Digital multimeter – for voltage, continuity, and resistance measurements
- Fuel pressure gauge – to verify pump output pressure
- 12V power source or jumper wires connected to a vehicle battery
- Vehicle service manual or resistance specifications for your specific model
- Safety equipment – gloves and eye protection
- Small container for fuel or water during bench testing
How to Test Fuel Sending Units Before Purchase
Fuel sending units operate as variable resistors (potentiometers) that change electrical resistance based on float position. This resistance change translates to fuel gauge readings in your dashboard. Testing the sending unit requires measuring these resistance values across the float’s full range of motion.
Visual Inspection Checklist
Start with a thorough visual examination before electrical testing:
- Check for corrosion or rust on metal parts
- Inspect electrical terminals for damage or melting
- Ensure the float arm moves freely without binding
- Look for cracks in the housing or float
- Verify mounting tabs are intact
Resistance Testing Procedure
Follow these steps to test sender resistance accurately:
- Set your multimeter to the ohms (Ω) setting
- Identify the sender terminals (usually thinner wires, separate from pump power wires)
- Connect multimeter probes to the appropriate pins
- Gently move the float arm from empty position (down) to full position (up)
- Record resistance readings at both extremes
- Check for smooth resistance changes without sudden jumps or dead spots
| Float Position | Typical Resistance Range | What to Look For |
|---|---|---|
| Empty (Float Down) | 10-30 ohms | Low, stable reading |
| Full (Float Up) | 150-200+ ohms | Higher, stable reading |
| Movement Test | Gradual change | Smooth transition, no jumps |
Pro Tip: Always consult your vehicle’s service manual for exact resistance specifications, as values vary significantly between manufacturers and models. This testing method ensures accurate diagnosis before installation.
Comprehensive Fuel Pump Testing Methods
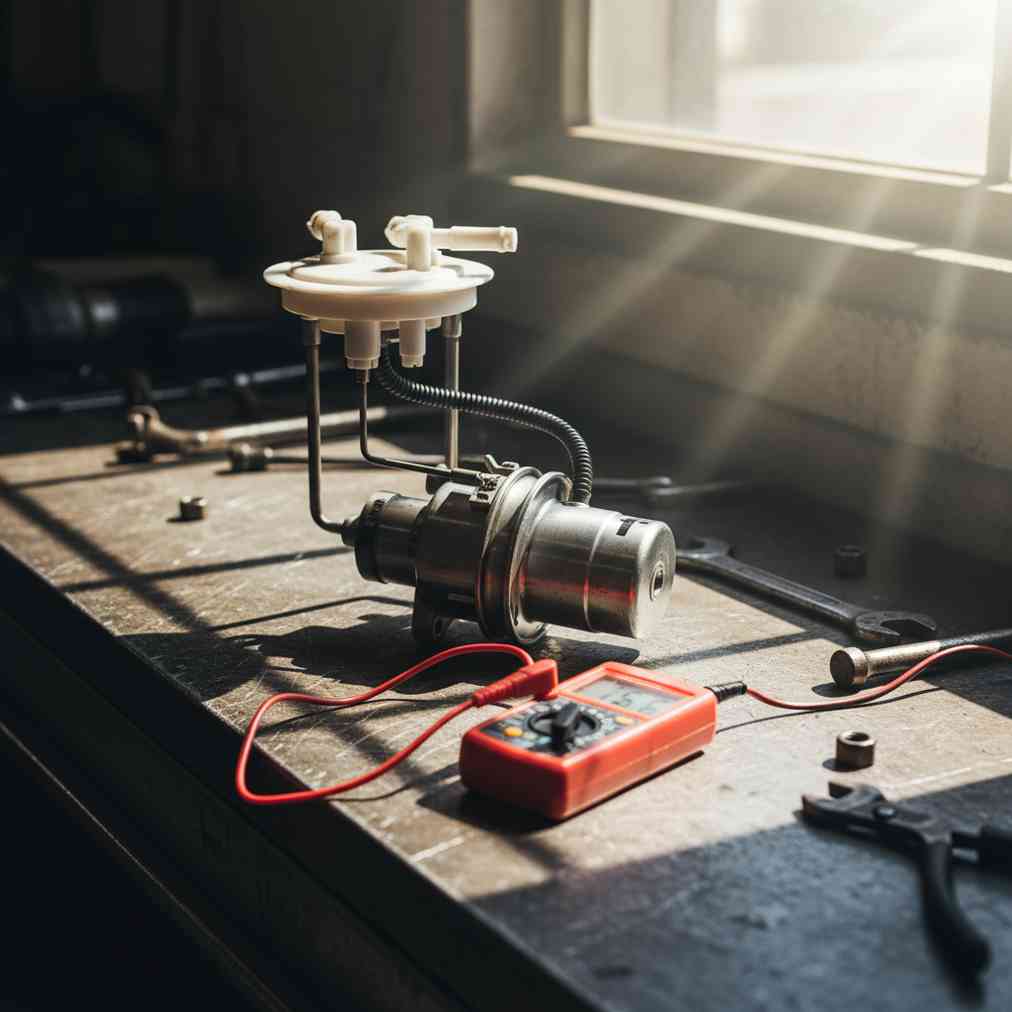
Fuel pumps are essentially DC motors that must move fuel at consistent pressure and flow rates. Testing involves both electrical verification and pressure output measurement. Proper fuel pump testing combines multiple diagnostic approaches for complete verification.
Electrical Testing Steps
Start with basic electrical tests to verify motor functionality:
- Continuity Test: Set multimeter to continuity mode and test between power and ground terminals
- Resistance Test: Measure motor resistance (typical range: 0.5-5 ohms)
- Direct Power Test: Apply 12V directly to pump terminals and listen for motor operation
- Amp Draw Test: Use amp clamp to measure current draw during operation
Pressure and Flow Testing
The most critical test for fuel pumps is pressure output verification. Even if the motor runs, inadequate pressure indicates internal wear or damage:
- Pressure Test: Connect fuel pressure gauge to pump outlet
- Flow Rate Test: Time how long it takes to pump a specific volume
- Prime Test: Verify pump builds pressure quickly when energized
- Sustained Pressure: Check if pump maintains pressure under load
Following a systematic diagnostic approach ensures you identify potential issues before purchase rather than after installation.
On-Car Testing Techniques (Pre-Removal)
If the parts are still installed in the donor vehicle, you can perform preliminary tests before removal. This saves time and helps you avoid purchasing obviously faulty parts.
Quick Function Tests
- Prime Test: Turn ignition to “ON” position and listen for pump priming (2-3 second hum from fuel tank area)
- Fuel Gauge Test: Check if fuel gauge responds accurately to tank level
- Voltage Supply Test: If accessible, verify 12V power reaches pump connector during prime cycle
- Engine Performance: If vehicle runs, note any fuel delivery issues like hesitation or stalling
These preliminary tests can quickly eliminate obviously faulty parts before you invest time in removal and bench testing.
Benefits of Buying Used Fuel System Parts
Despite the need for careful testing, used fuel pumps and senders offer significant advantages for many repair situations. Understanding these benefits helps you make informed purchasing decisions while managing the associated risks.
Cost Savings Analysis
| Part Type | New Part Price | Used Part Price | Potential Savings |
|---|---|---|---|
| Basic Fuel Pump | $200-$400 | $50-$150 | 60-75% |
| High-End Fuel Pump | $400-$800 | $100-$300 | 62-75% |
| Fuel Sending Unit | $100-$300 | $30-$100 | 65-70% |
| Complete Assembly | $500-$1,000 | $150-$400 | 60-70% |
Additional Advantages
- Immediate Availability: No waiting for special orders or shipping
- OEM Quality: Original equipment parts often superior to aftermarket alternatives
- Environmental Benefits: Reduces manufacturing waste and conserves resources
- Discontinued Parts: May be the only option for older or rare vehicles
- Perfect Fit: Exact match to original specifications
Many auto salvage yards now offer 30-90 day warranties on electrical parts, providing additional peace of mind for your purchase. If you need to sell your old vehicle for parts, consider getting an instant quote for junk car to offset your repair costs.
Complete Pre-Purchase Inspection Checklist
Use this comprehensive checklist when evaluating used fuel pumps and senders to maximize your chances of purchasing reliable parts:
| Inspection Area | Specific Checks | Pass/Fail Indicators |
|---|---|---|
| External Condition | Cracks, dents, physical damage | Any cracks or major dents = FAIL |
| Electrical Connectors | Melting, corrosion, bent pins | Corrosion or melting = FAIL |
| Fuel Line Fittings | Thread condition, sealing surfaces | Cross-threaded or damaged = FAIL |
| Float Mechanism | Free movement, no binding | Sticking or binding = FAIL |
| Corrosion Level | Rust on metal parts | Heavy corrosion = FAIL |
| Electrical Tests | Resistance, continuity, pressure | Out of spec readings = FAIL |
Questions to Ask Sellers
- Vehicle mileage when parts were removed
- Reason for removal (accident, normal wear, upgrade)
- Storage conditions since removal
- Return policy or warranty offered
- Installation history or known issues
Expert Warning: Some mechanics advise against used fuel pumps for daily drivers due to unpredictable lifespan and high labor costs. Consider your vehicle’s importance and your risk tolerance when making the decision.
Common Failure Modes to Watch For
Understanding typical failure patterns helps you identify problematic parts during testing. Recognizing these warning signs can save you from purchasing parts that will fail shortly after installation.
Fuel Pump Failure Indicators
- Low pressure output despite normal motor operation
- Excessive amp draw indicating internal resistance
- Intermittent operation or inconsistent pressure
- Unusual noises during operation (grinding, squealing)
- Fuel contamination evidence in pump housing
Sending Unit Failure Signs
- Dead spots in resistance sweep (sudden jumps or drops)
- Infinite resistance indicating broken internal connections
- Erratic readings when float arm is moved
- Mechanical binding in float mechanism
- Corrosion affecting electrical connections
Safety Considerations During Testing
Testing fuel system parts requires careful attention to safety due to fire and electrical hazards. Follow these essential safety protocols:
- Work in well-ventilated areas away from ignition sources
- Use proper electrical connections to prevent sparks
- Keep fire extinguisher nearby when working with fuel
- Wear safety glasses and gloves during all testing procedures
- Ground yourself to prevent static electricity buildup
- Never smoke or allow open flames in work area
Proper safety procedures protect you and others while ensuring accurate test results.
When to Choose New Parts Instead
While used parts offer significant savings, certain situations favor purchasing new parts instead:
- Daily driver vehicles where reliability is critical
- High-mileage vehicles where fuel system failure could strand you
- Professional mechanic repairs where warranty coverage is important
- Fleet vehicles requiring consistent performance standards
- When used parts show multiple red flags during testing
Consider the total cost of ownership including potential failure risks and labor costs for re-installation when making your decision.
Final Testing Tips and Best Practices
Successful testing of used fuel pumps and senders requires systematic approach and attention to detail. These final recommendations ensure you get the most reliable parts possible:
- Test multiple candidates if available to compare performance
- Document test results for future reference and warranty claims
- Consider complete assemblies when sender and pump are integrated
- Verify compatibility with your specific year, make, and model
- Plan for proper installation including new seals and filters
Remember that thorough testing before purchase is far more cost-effective than discovering problems after installation. The time invested in proper testing pays dividends in reliability and peace of mind. Whether you’re sourcing parts for a restoration project or keeping a daily driver running, these testing procedures help ensure you get the best value from used fuel system parts.
For additional guidance on automotive testing procedures and more money-saving tips for car repairs, explore our comprehensive resources on used auto parts and vehicle maintenance strategies.


Leave a Reply
You must be logged in to post a comment.