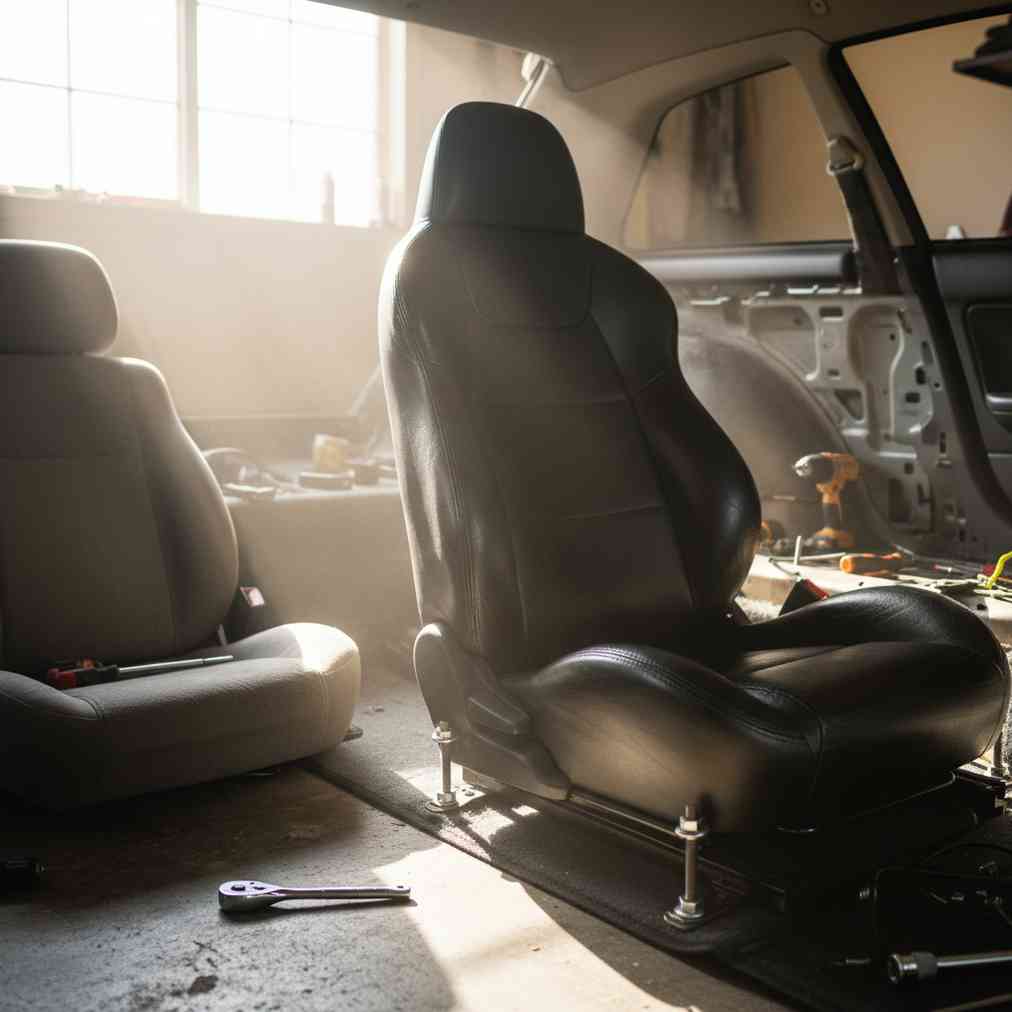
Essential Tools for Successful Seat Removal
When visiting a self-service salvage yard to pull leather seats, bringing the correct tools is crucial for a quick and successful extraction. You often have limited time at these facilities, so preparation is key to maximizing your efficiency and avoiding frustration.
| Tool Category | Specific Tools | Purpose |
|---|---|---|
| Socket/Wrench Set | 13mm, 15mm, 9/16″ | Removing main floor bolts |
| Torx Bits | Complete Torx socket set | Modern power seat fasteners |
| Power Tools | Breaker bar, impact driver | Stubborn or rusted bolts |
| Hand Tools | Flathead & Phillips screwdrivers | Plastic covers and connectors |
| Specialty Items | 9V battery or drill battery | Moving power seats |
For power seats, you’ll need a portable power source since the donor car’s battery is likely disconnected. A small 9-volt battery or cordless drill battery connected temporarily to the seat’s wiring harness can provide just enough power to move the seat forward or backward to access all mounting points.
Safety First: Handling Electrical Connectors and Airbag Systems
Modern vehicle seats often contain critical Supplemental Restraint System (SRS) components like side airbags and seat belt pretensioners. Working with these systems requires extreme caution to prevent accidental deployment, which can cause serious injury or death.
Critical Safety Protocol for Airbag/SRS Connectors
- Always disconnect the negative battery terminal before working on any airbag or SRS connectors
- Wait at least 10 to 90 seconds (some recommend up to an hour) after disconnecting to allow residual power to dissipate
- Identify bright yellow connectors – these are almost always airbag/SRS related
- Never use metal tools to pry yellow connectors apart as shorting terminals can cause explosion
- Look for small colored tabs (often black or purple) that must be slid or pulled before the main connector separates
“Safety should always be your top priority when working with airbag systems. A momentary lapse in caution can result in serious injury or worse.”
Power Seat Connector Management
For power seats, you’ll need to temporarily energize them to access all mounting bolts. Identify the main power feed (often a large orange wire on GM vehicles) and the main ground (typically the largest black wire) in the seat harness. Connect these to your temporary power source to cycle the seat position.
Step-by-Step Seat Removal Process
Following a systematic approach ensures you don’t miss critical steps and helps prevent damage to valuable electrical connections. This process applies whether you’re working at salvage yards near you or any self-service facility.
- Preparation & Safety: Disconnect the negative battery terminal and wait the required time for SRS system discharge
- Position Access: Use temporary power to move power seats forward to reach rear bolts, then backward for front bolts
- Remove Covers: Carefully pry off plastic caps covering floor bolts using a flathead screwdriver
- Unbolt Systematically: Remove floor bolts using appropriate socket or Torx bit, keeping hardware organized
- Disconnect Wiring: With bolts loose, tilt seat to access connectors, prioritizing yellow SRS connectors
- Final Extraction: Once all fasteners and wires are clear, lift the seat from the vehicle
According to automotive recycling research from data analytics professionals, proper systematic removal reduces part damage by up to 40% compared to rushed extraction methods.
Inspecting Leather Quality and Condition
A thorough visual inspection is critical to ensure your hard work pays off with quality leather seat upgrades. Focus on high-wear areas and potential deal-breakers that might not be immediately obvious.
Critical Inspection Areas
| Area to Check | What to Look For | Deal Breakers |
|---|---|---|
| Driver Side Bolster | Tears, compressed foam | Deep gouges, collapsed support |
| Seat Surfaces | Stains, discoloration | Mold, permanent staining |
| Seam Integrity | Loose stitching | Major seam separation |
| Hardware | Broken adjustment mechanisms | Seized motors, bent tracks |
Material identification is also crucial – many modern “leather” seats are actually synthetic blends that may handle UV exposure and wear differently than genuine leather. Look for manufacturer tags or examine the material texture to determine authenticity.
Common Challenges and Solutions
Even experienced parts pullers encounter obstacles when removing seats from salvage yard vehicles. Understanding common problems and their solutions saves time and prevents damage.
- Rusted Bolts: Apply penetrating oil like WD-40 and allow time to work before attempting removal
- Stuck Connectors: Never force electrical connections – look for hidden locking tabs or clips
- Seized Power Seats: Check for manual override mechanisms or attempt power cycling with battery pack
- Missing Hardware: Document which bolts and brackets come with each seat for proper installation
Post-Extraction: Cleaning and Restoration
Even quality leather seats from the yard will require cleaning and conditioning after exposure to the elements. Plan on deep cleaning treatment once seats are home, as salvage yard grime can be significant.
Professional automotive research from restoration specialists indicates that proper conditioning can extend the life of salvaged leather by 3-5 years beyond normal expectations.
Essential Post-Purchase Steps
- Deep Clean: Remove all dirt, debris, and biological contaminants
- Condition Treatment: Apply quality leather conditioner to restore flexibility
- UV Protection: Use appropriate protectants if seats will see sun exposure
- Hardware Inspection: Check all mounting points and electrical connections before installation
Budget Considerations and Value Proposition
Upgrading from cloth to leather seats represents one of the most cost-effective interior modifications available to car enthusiasts. Complete seat sets can often be obtained for $150-$250, compared to thousands for new leather installation.
| Option | Typical Cost | Time Investment | Quality |
|---|---|---|---|
| Junkyard Leather Seats | $150-$250 | 1-2 days | Good to Excellent |
| Aftermarket Covers | $300-$800 | 1 day | Fair to Good |
| Professional Installation | $2000-$4000 | 1 week | Excellent |
If you’re looking to sell your current vehicle for cash to fund your upgrade project, obtaining an instant quote can help you budget for both the sale and your interior improvements.
Legal and Environmental Considerations
When pulling seats from salvage yards, be aware of environmental regulations and proper disposal of hazardous materials. SRS components require special handling, and some facilities have specific protocols for airbag disposal.
Research from environmental science studies at academic institutions shows that proper automotive recycling practices significantly reduce environmental impact compared to manufacturing new parts.
Final Tips for Success
Success in pulling quality leather seats comes down to preparation, safety awareness, and thorough inspection. Remember that even worn leather can often be restored to excellent condition with proper care and treatment.
- Bring adequate tools and power sources for all seat types you might encounter
- Prioritize safety when working with airbag and electrical systems
- Inspect thoroughly before committing time to removal
- Plan for restoration time and costs in your budget
- Document hardware and connections for easier installation
This upgrade represents one of the best value propositions in automotive modification, transforming your vehicle’s interior aesthetic and comfort while staying within a modest budget. With proper technique and attention to safety, you’ll have professional-quality results at a fraction of the cost.


Leave a Reply
You must be logged in to post a comment.